Where you position a split system matters almost as much as which system you choose. A well-specified unit installed in the wrong location will underperform, run inefficiently, and potentially create problems you’ll spend years trying to fix. A correctly positioned system of the same capacity will cool and heat more effectively, draw less power doing it, and last significantly longer. For homeowners, considering a new split system installation Melton, or for those having an existing system relocated, understanding what makes a good position before the installer arrives helps you make informed decisions rather than simply accepting wherever happens to be easiest.
This guide covers both the indoor and outdoor unit, the critical factors that affect each, and the practical considerations.
Indoor Unit Placement: What You Need to Know
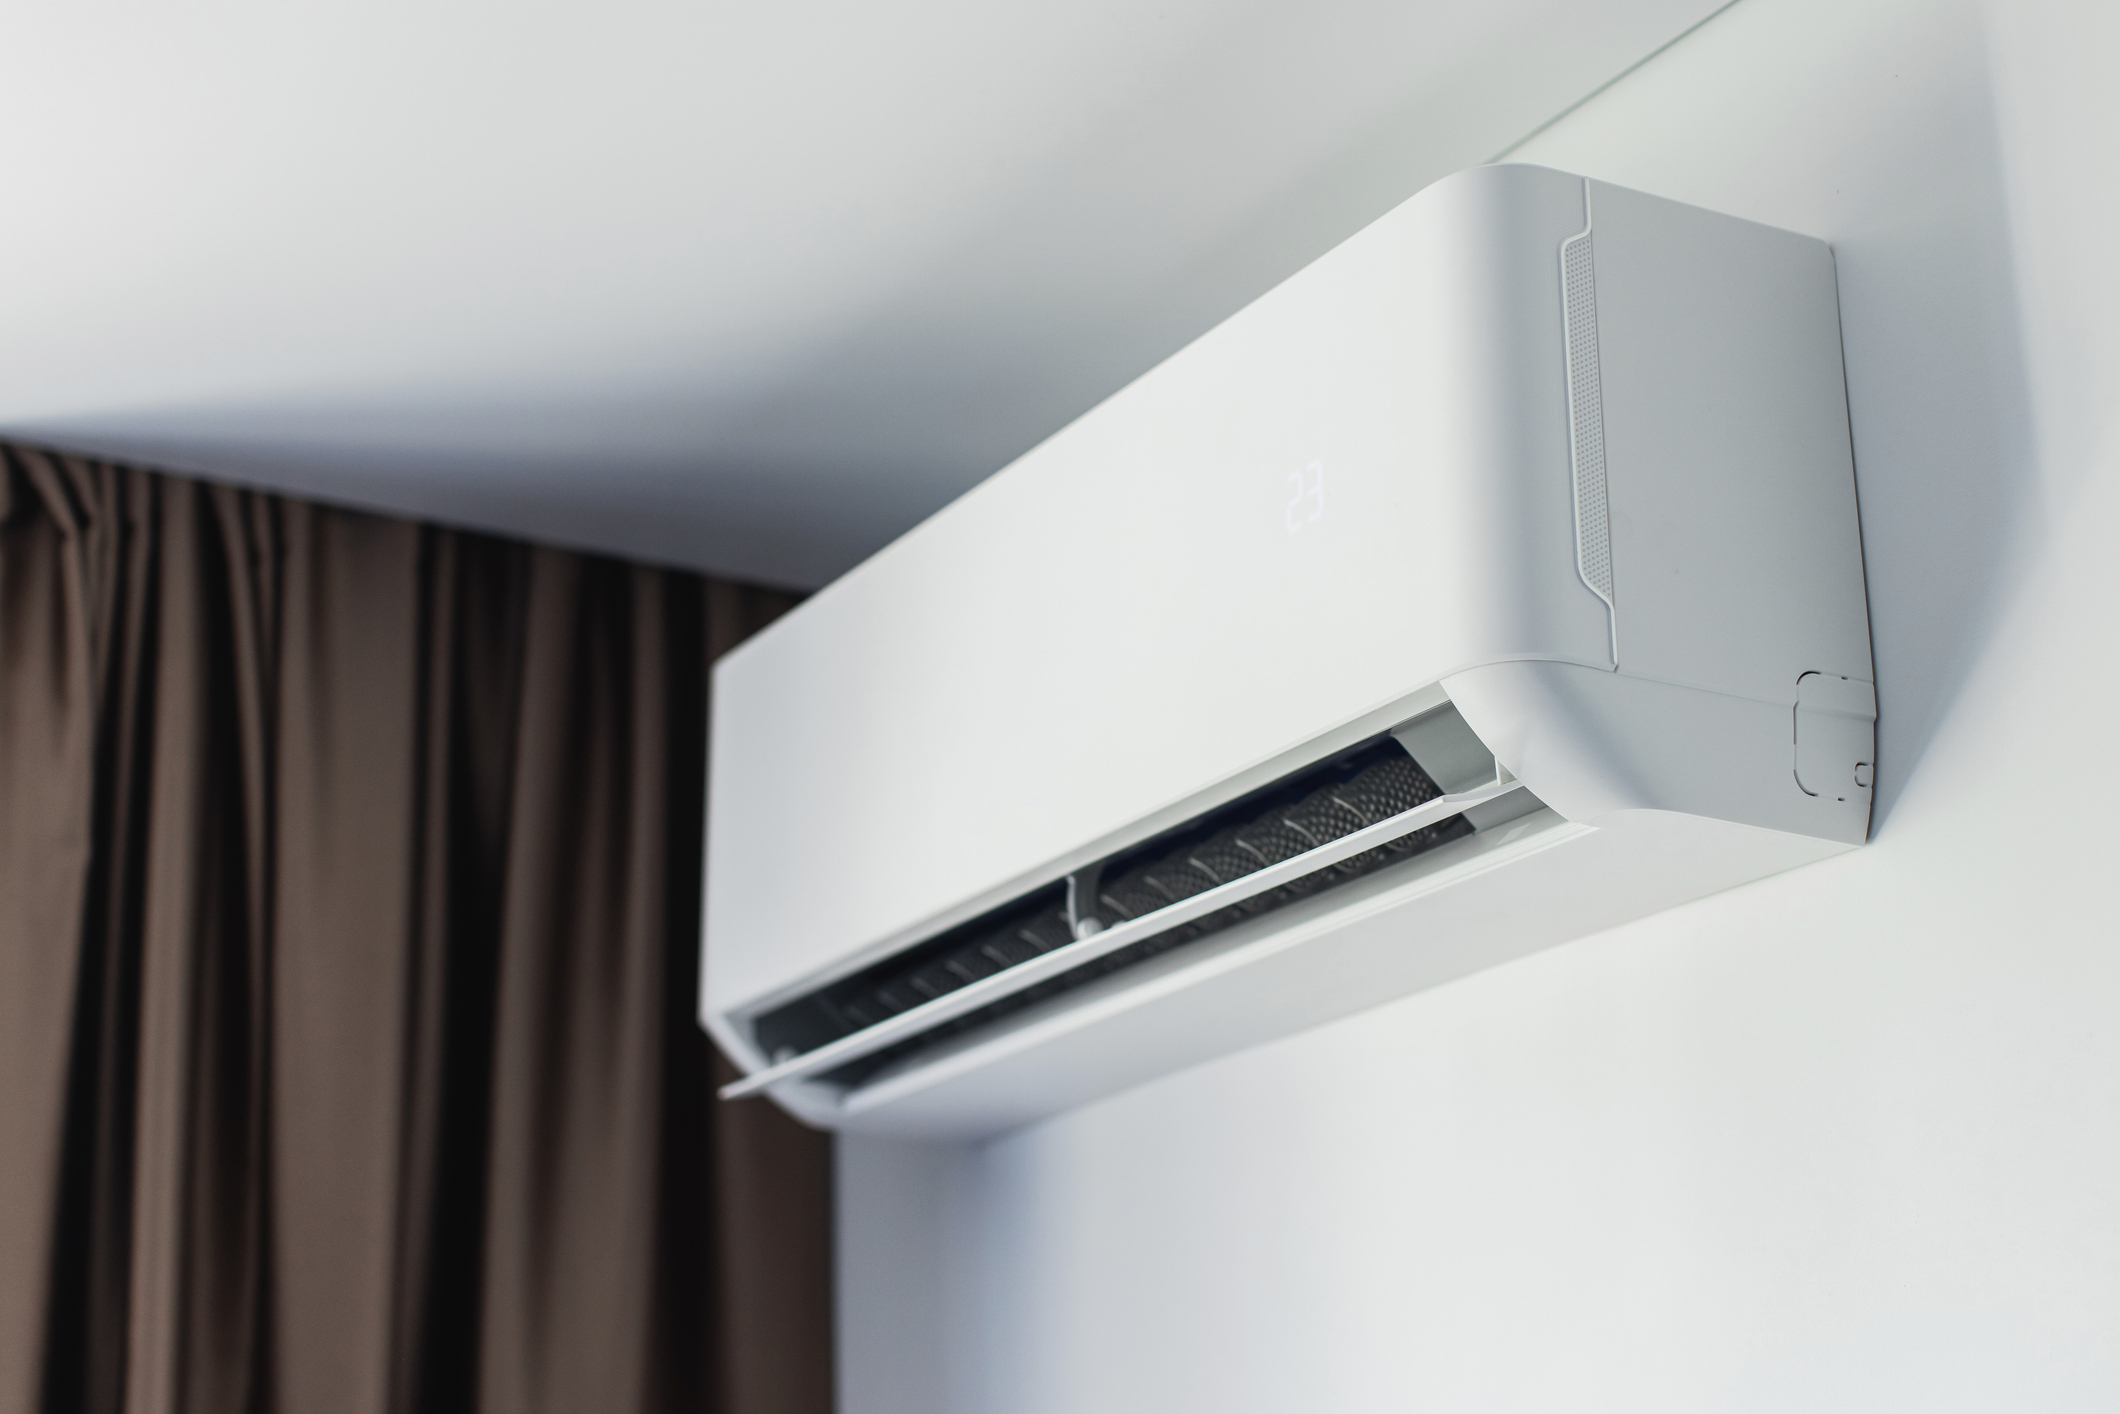
The indoor unit is the part of the system you live with every day. Its position determines how evenly the room is cooled or heated, whether the temperature sensor gives accurate readings, and how quietly and efficiently the system operates.
Height on the Wall
The indoor unit should be mounted high on the wall, and the reason comes down to the physics of how air moves.
- 10 to 20 centimetres below the ceiling is the standard mounting height for most residential split systems.
- Cool air is heavier than warm air and falls naturally from the unit downward through the room. High mounting allows it to cascade down and mix with room air gradually, producing even temperatures rather than cold air blowing directly at occupants.
- At least 15 centimetres of clearance above the unit must be maintained for the return air intake to function correctly. A unit jammed against the ceiling can’t draw return air properly and will underperform despite running at full capacity.
- Higher ceilings allow the unit to go higher, improving air distribution. In Melton’s newer two-storey homes with high ceilings, this is a significant advantage.
Which Wall to Mount On
The choice of wall is one of the most consequential decisions in a split system installation, affecting both performance and the practical considerations of running refrigerant lines.
- Internal walls are preferred over external walls wherever possible. An internal wall means shorter refrigerant lines to the outdoor unit, lower installation cost, and less heat gain or loss through the wall behind the unit.
- Avoid corners where airflow will be blocked on one or both sides. Corner-mounted units send cooling in a narrow cone instead of distributing it across the room.
- Rectangular rooms benefit from the unit mounted on the shorter wall, directing airflow along the length of the room. This distributes conditioned air across the full room volume far more effectively than mounting on a longer wall and sending air across a narrow dimension.
- Open-plan living areas common in Melton’s newer developments need careful consideration of where the main occupancy zone is, since a single split system won’t cover the full open-plan space equally from every position.
Keep Clear of Obstructions
The indoor unit needs unobstructed space both in front and above it to work properly.
- Furniture directly in front of the unit blocks airflow and creates a dead zone of warm or cold air in front of the unit while the rest of the room remains unconditioned. Move or rearrange furniture before committing to an installation position.
- Shelving units above the indoor unit can block the return air intake. The unit draws air from above and expels conditioned air from the front. Both paths need to be clear.
- Curtains that hang across the return air intake are a surprisingly common issue. Long curtain tracks positioned near the unit can pull the curtain across the top during operation, restricting the intake and causing the system to work harder.
Away from Direct Sunlight
Sunlight striking the indoor unit’s temperature sensor is a reliability and performance issue that’s easy to overlook during installation but frustrating to deal with afterward.
- Direct sun on the sensor causes the unit to read a temperature higher than the actual room temperature. This makes the system over-cool or short-cycle as it tries to compensate for a reading that doesn’t reflect reality.
- North and west-facing walls in homes receive direct afternoon sun during summer, when the system is working hardest. These are the most problematic positions for indoor unit placement from a sensor accuracy perspective.
- East-facing walls receive morning sun only, which is less intense and less likely to cause problems, making them a better choice where internal wall options don’t exist.
Away from Heat-Generating Appliances
The same sensor accuracy problem that applies to direct sunlight also applies to nearby appliances that produce heat.
- Televisions, computers, and gaming setups generate significant heat during operation. Positioning the indoor unit directly above or adjacent to these appliances causes the system to read a falsely elevated temperature and run more than necessary.
- Kitchen appliances in open-plan spaces can create localised heat pockets that confuse the sensor. If the system is intended to cool an open-plan kitchen and living area, position the unit toward the living zone rather than above the kitchen bench.
- The rule is straightforward: the sensor needs to read the average room temperature, not the temperature of the hottest spot in the room.
Outdoor Unit Placement: Getting the Fundamentals Right
The outdoor unit is the workhorse of the split system. It houses the compressor, the condenser coil, and the fan that dumps heat from your home to the outside environment during cooling, and extracts heat from outside during heating. Its placement directly affects how hard it has to work, and therefore how efficiently and quietly the system operates.
Clearance and Airflow Requirements
Airflow around the outdoor unit is the most critical factor in its performance. Restrict that airflow and you reduce efficiency significantly.
- Minimum clearances: 30 centimetres to the sides, 60 centimetres in front of the discharge grille where hot air is expelled, and 15 centimetres at the rear. These are minimums, not ideals.
- Enclosures and privacy screens are a common mistake in townhouses and tight-lot developments. A well-intentioned screen that blocks the view of the outdoor unit with insufficient clearance causes the unit to recirculate its own expelled hot air, dramatically reducing cooling efficiency.
- If a screen is needed for aesthetic reasons, it must be louvred or slatted to allow full airflow through, not solid. The total open area of the screen should allow unrestricted air movement at the discharge point.
Shade Improves Efficiency
An outdoor unit working in full afternoon sun is measurably less efficient than an identical unit in shade, particularly on the hot summer days when your cooling system is under the most load.
- Afternoon shade from a pergola, fence line, or established vegetation on the west or north side of the outdoor unit can improve cooling efficiency by several percent on 35 to 40-degree days.
- Concrete slabs radiate stored heat upward through the afternoon and evening, adding to the thermal load on the outdoor unit. Where possible, position the outdoor unit away from large areas of sun-exposed concrete.
- The key principle: shade without obstruction. Don’t create shade using something that restricts airflow around the unit. Natural shade from vegetation at a distance, or a properly louvred shade structure, achieves shade without restriction.
Keep Refrigerant Lines as Short as Possible
The refrigerant lines connecting the indoor and outdoor units carry the refrigerant that transfers heat between the two. Every metre of additional line run introduces inefficiency.
- Shorter runs mean less refrigerant charge required, less heat gain through the line in summer, and less heat loss in winter.
- Best performance is achieved within five to eight metres of line run for most residential split systems.
- Most systems support up to 15 to 20 metres of line run when properly specified and charged, but efficiency losses increase with distance. Long runs should be discussed with your installer and factored into system sizing.
- Line insulation is critical on longer runs, particularly in Melton where outdoor summer temperatures can exceed 40 degrees and uninsulated lines lose significant efficiency.
Level and Stable Mounting Surface
An outdoor unit that isn’t level or isn’t mounted on a stable surface will vibrate, generate noise, and wear internal components faster.
- Wall brackets are the most common mounting method in homes with limited ground space. They must be fixed into structural masonry or timber, not cladding or render alone.
- Concrete pads are the alternative for ground-level installation. The pad should be level, solid, and slightly elevated to prevent the unit from sitting in water runoff during heavy rain, which is relevant for Bacchus Marsh homes that can experience flash flooding in the Lerderderg catchment area.
- Anti-vibration mounts between the unit and the bracket or pad significantly reduce vibration noise transmission into the structure of the home.
Noise Considerations: Bedrooms and Neighbours
Outdoor units generate noise during operation, and poor placement decisions lead to complaints that are expensive and difficult to resolve after installation.
- Typical outdoor unit noise levels range from 45 to 60 decibels during operation, depending on the unit model and operating mode. At the lower end, this is comparable to a quiet conversation. At the upper end, it’s comparable to a dishwasher.
- Directly outside a bedroom window is the most common placement mistake that causes long-term regret. At 50 decibels, a unit directly outside a bedroom window will disturb light sleepers and anyone trying to sleep with windows open during warm weather.
- Neighbour proximity is also a consideration, particularly on the narrow lots common in newer estates. Consider where your neighbour’s windows, outdoor entertaining areas, and bedrooms are located before deciding on a side-of-house position.
Drainage: The Detail That’s Often Overlooked
During cooling operation, the indoor unit removes moisture from the air and this condensate needs to drain away. A poor drainage path leads to water dripping inside the home, which causes water damage and potential mould growth.
- The condensate line must have a clear, downhill path from the indoor unit to a drainage point. Even a short uphill section can cause the drain to back up and overflow inside the unit.
- Drainage into the garden or a drain is acceptable, but drainage onto a walkway or into a position where it can pool near the home’s foundations should be avoided.
- Drain line length and diameter must be appropriate for the unit’s condensate output. An undersized drain line will back up during peak cooling operation on very humid days.
- Confirm the drainage path before the bracket position is fixed. Moving the indoor unit after installation because of a drainage problem is a costly exercise.
Conclusion
Split system installation is one of those jobs where the decisions made on the first day determine how well the system performs for the next 10 to 15 years. A poorly positioned system creates problems that you can’t fix without pulling the unit off the wall and starting again, which means paying for installation twice.
At New Image Heating and Cooling Melton, we install split systems and take positioning seriously on every job. Before we fix a single bracket, we walk the space with you, confirm the best indoor and outdoor positions, check drainage paths, assess refrigerant line runs, and flag any potential issues with noise or obstructions. Getting it right the first time is part of what we do.
Call us on 0468 125 098 to book an installation consultation or submit our online form. We’ll assess your space, recommend the right system size and position, and give you a straight answer on what the job involves before we start.
Frequently Asked Questions
Can I install the outdoor unit on my roof?
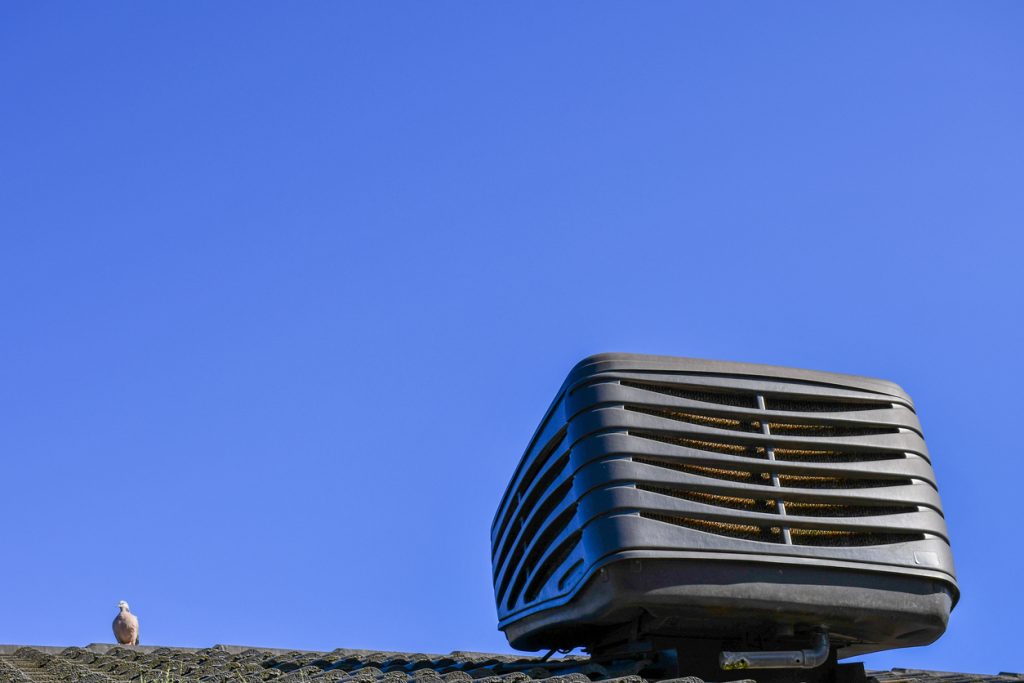
Yes, rooftop installation is possible and sometimes the only practical option on tight urban lots common in newer Melton estates. It requires specialist mounting brackets engineered for the specific roof type, careful attention to structural load, waterproofing around any roof penetrations, and an increased refrigerant line run to reach the rooftop. New Image Heating & Cooling can assess rooftop suitability as part of a site visit before any commitments are made.
My only option for the outdoor unit is a sunny north-facing wall. Will this cause problems?
It will reduce efficiency on peak summer days when the unit is working hardest, but it won’t prevent the system from cooling your home. Where possible, add shade above and around the unit without obstructing airflow. A quality, higher-efficiency unit will manage a north-facing position better than a budget entry-level model. Discuss the options with your installer at the consultation stage.
How far apart can the indoor and outdoor units be?
Most residential split systems support line runs of up to 15 to 20 metres, though manufacturer specifications vary by model. Longer runs require additional refrigerant charge and introduce greater efficiency losses. For best performance, keep the run under 10 metres where possible. If the installation requires a long run, discuss system sizing and line insulation requirements with your installer before proceeding.
Can the indoor unit be mounted on a ceiling instead of a wall?
Ceiling cassette units are designed specifically for ceiling installation and distribute airflow in four directions simultaneously, making them ideal for square or open-plan rooms common in Melton’s newer builds. Standard wall-mounted indoor units are not designed for ceiling installation. If ceiling mounting is what you need, a cassette unit is the correct product, and your installer should advise on sizing accordingly.
Does it matter which direction the indoor unit faces?
Yes, significantly. The unit should face so its airflow travels along the longest dimension of the room. In a rectangular room, mounting on the shorter wall and directing air along the room’s length distributes conditioning more evenly than directing it across the room’s narrow dimension. Avoid positions where large pieces of furniture will immediately intercept the airflow before it can distribute across the space.