Filters in a split system Melton are the most neglected maintenance task in any home and, ironically, the most impactful one. They’re accessible without tools, take ten minutes to clean, and have a direct effect on how well your system performs, how much electricity it uses, and how long it lasts before needing expensive repairs. Yet the vast majority of systems are running with filters that haven’t been cleaned in months, or in some cases, years. The system keeps running, it just works harder than it should, costs more to operate, and is quietly wearing out faster than necessary.
This guide explains how often to clean your filters, what factors affect that interval in the local area, and exactly how to do it properly from start to finish.
What Is the Function of a Filter in a Split System?
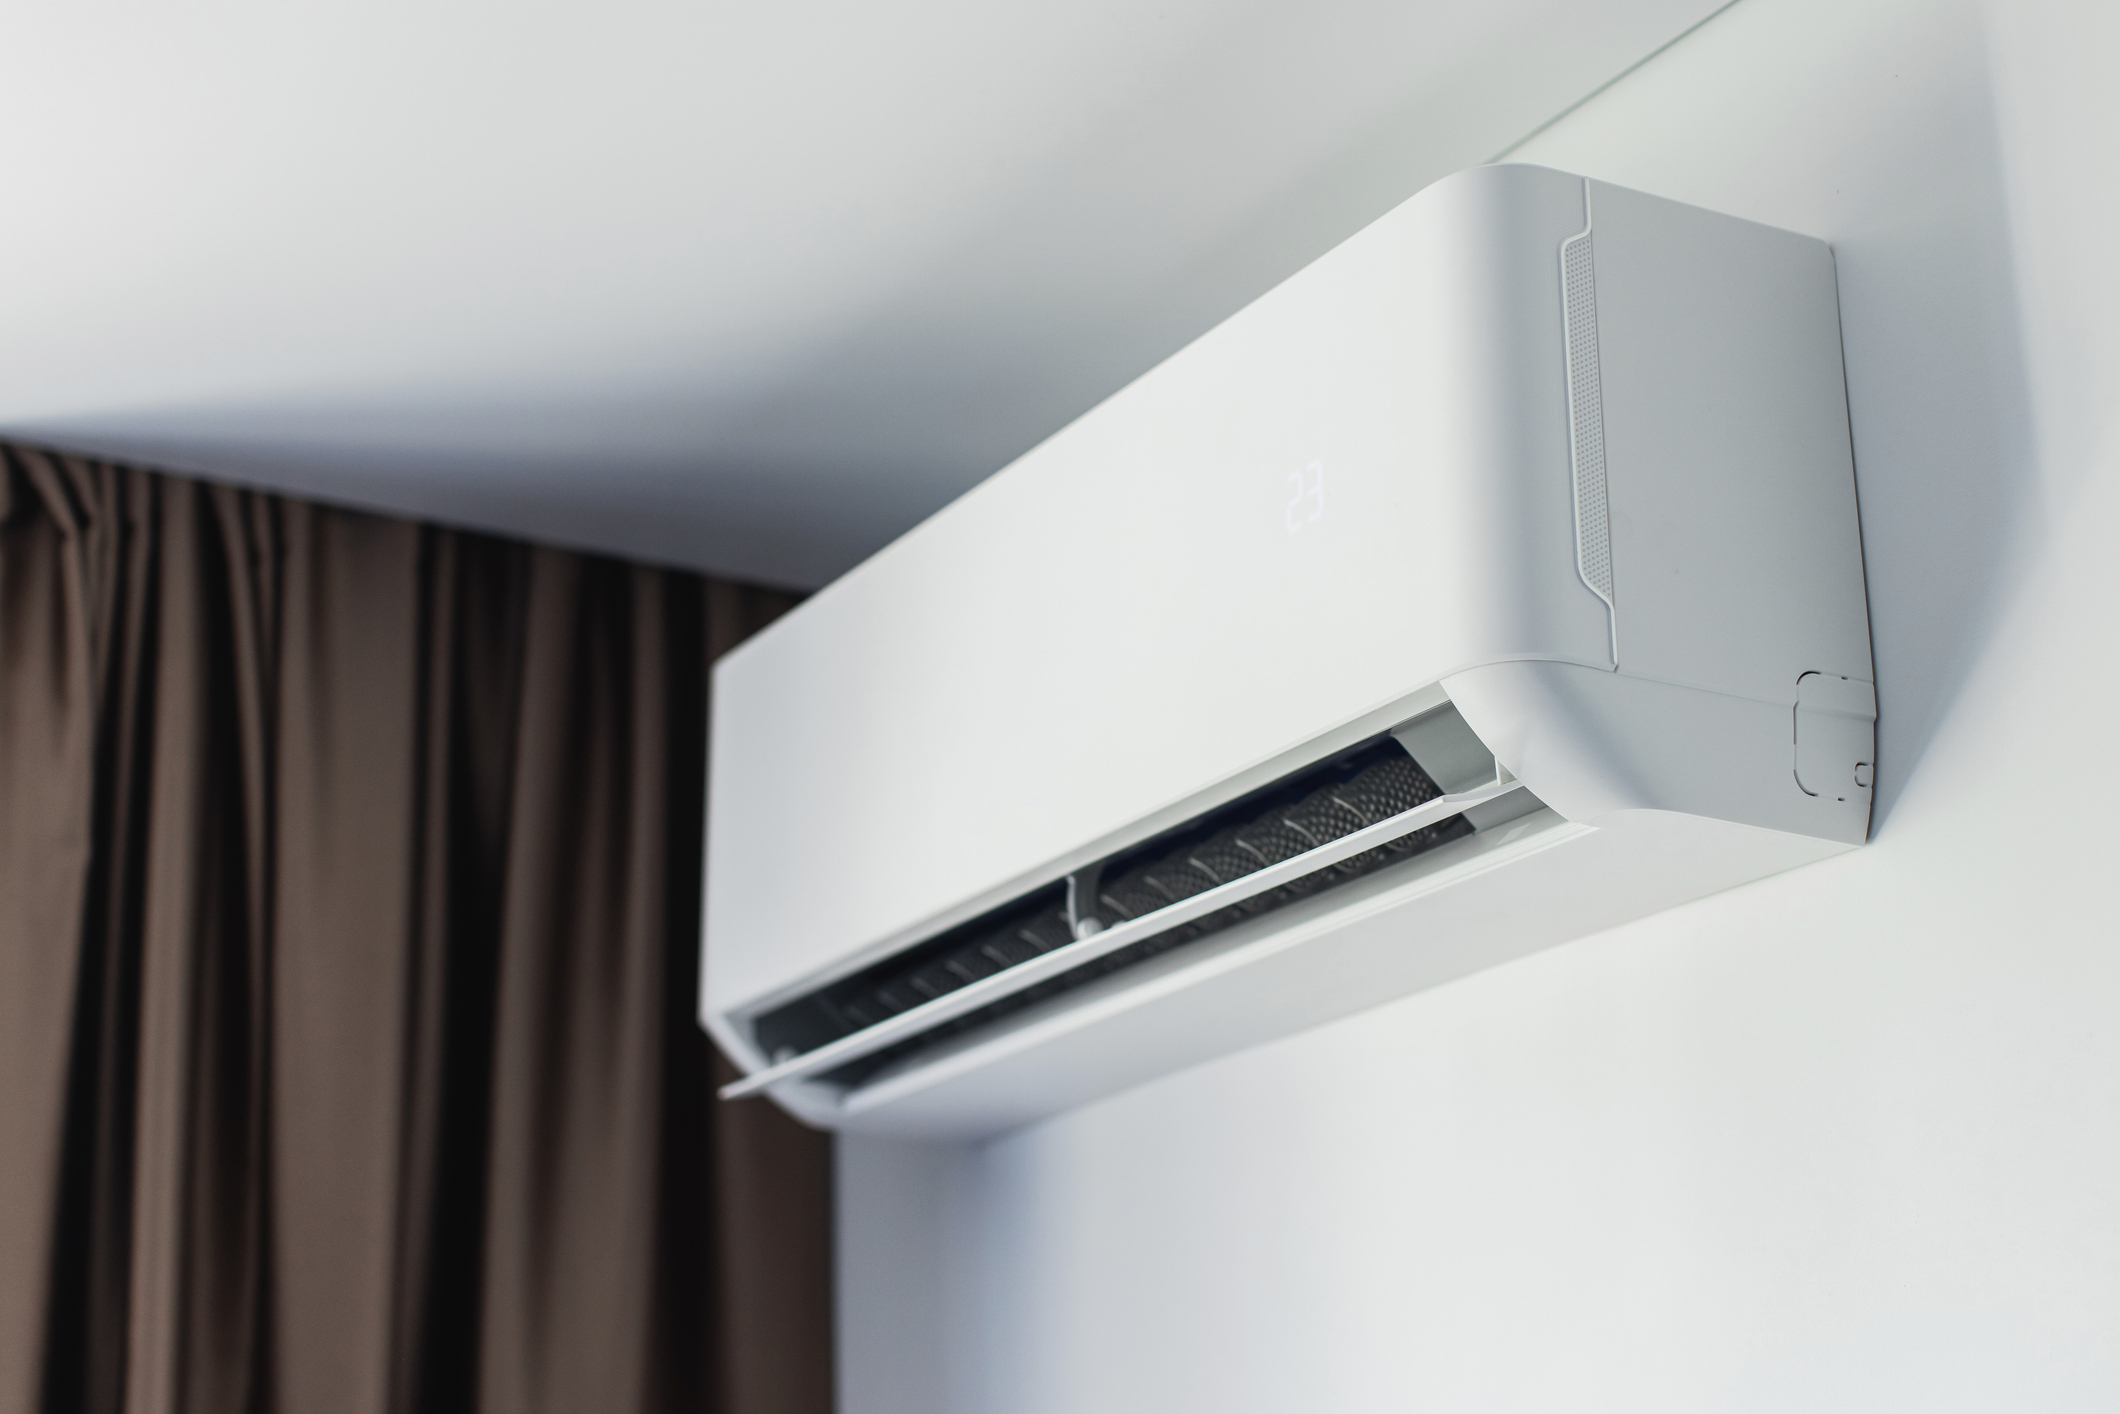
Before getting into cleaning intervals, it’s worth understanding what the filters are actually doing — because it makes it much clearer why neglecting them is a problem. The filters are mesh screens that sit inside the indoor unit, positioned just behind the front panel. Every cubic metre of air your system processes passes through these filters before it reaches the internal components. The filters capture:
- Household dust and fine particles
- Pollen and airborne allergens
- Pet hair and dander
- Construction dust and fine grit (particularly relevant in Melton’s growth corridor)
- Lint and fabric fibres
This serves two distinct purposes. First, it keeps the evaporator coil clean. The coil is the internal heat exchanger responsible for cooling or heating the air — a layer of dust coating its fins acts as insulation and dramatically reduces how efficiently it transfers heat. Second, it maintains the air quality in the room by preventing the system from recirculating captured particles back through the space.
When the filter becomes progressively clogged, a chain of consequences follows:
- Airflow through the unit is restricted, meaning less conditioned air reaches the room.
- The system runs for longer to reach the set temperature, increasing electricity consumption.
- In severe cases, reduced airflow across the evaporator coil causes it to freeze over entirely, stopping the cooling function and potentially causing water damage.
- The blower motor works against the increased resistance, drawing more current and wearing faster.
- Particles that make it past the clogged filter start building up on the coil surface, a problem that requires professional cleaning to address.
The Standard Cleaning Recommendation
Most split system manufacturers recommend cleaning filters every two to four weeks during periods of regular use. That recommendation appears in virtually every owner’s manual and is a reasonable guideline for a typical household running the system daily in a standard environment.
In practice, every six to eight weeks is a more realistic interval for the average Australian household — one without pets, not in an unusually dusty environment, and using the system for several hours each day rather than continuously. At eight weeks of moderate use, most filters are noticeably dirty but not yet at the point where performance is significantly compromised. At twelve or more weeks, the restriction becomes noticeable in reduced airflow and increased running time.
The honest answer is: the right interval for your home depends on your specific conditions. The next section covers the key factors that shorten that interval.
When You Need to Clean More Often
Pets Spending Time Indoors
A single medium-sized dog or cat indoors can clog a split system filter in roughly a quarter of the time it would take in a pet-free home. Pet hair and dander are particularly effective at blocking filter mesh because the fibres interlock and create dense mats that trap finer particles behind them.
- One indoor pet: check the filter every three to four weeks.
- Multiple pets or a breed that sheds heavily: check every two to three weeks.
- You’ll likely find the filter needs a proper clean every four to six weeks at most.
Heavy or Continuous Use
A system running eight or more hours a day processes a far greater volume of air than one used for a few hours in the evening. More air processed means more particles captured and a filter that reaches saturation faster.
- Systems running continuously through Melton’s hot summers (where outdoor temperatures regularly exceed 35 degrees Celsius) benefit from monthly filter checks as a minimum.
- The same applies to systems running heating through winter in Bacchus Marsh, where overnight temperatures can drop below zero.
After Renovations or Any Building Work
Renovation work — even a single room repaint, bathroom retile, or kitchen renovation — generates significant fine dust that quickly distributes through the home.
- Check and clean the filter immediately after any building work is complete.
- If the system was running during the work, there’s a good chance dust has made it past the filter and onto the evaporator coil. In that case, a professional coil clean — not just a filter rinse — is the right response.
Allergy Sufferers in the Household
If anyone in the household has asthma, hay fever, or dust allergies, maintaining clean filters is a health matter as well as a maintenance one.
- For allergy-sensitive households, cleaning every three to four weeks is recommended regardless of other conditions.
- Consider asking your heating and cooling specialist in Bacchus Marsh about HEPA or allergen-specific supplementary filters at your next service.
How to Clean Split System Filters: Step-by-Step
Cleaning your split system filters is a straightforward process that requires no tools and takes around ten to fifteen minutes. Follow each step carefully — the most common mistakes happen at the drying stage.
Step 1: Turn the System Off
- Turn the system off at the remote control or wall controller and allow it to move to standby mode.
- You don’t need to turn it off at the circuit breaker for a filter clean, but the system should not be actively running when you open the unit.
Step 2: Open the Front Panel
- Most split system indoor units have a front panel that lifts upward or swings open from the bottom, often with a gentle push-and-lift motion.
- If the panel mechanism isn’t immediately obvious, check the unit’s owner manual before applying force. Panels on different brands open differently.
- The panel should open freely and stay in position once raised.
Step 3: Remove the Filters
- The filters are mesh panels that sit just behind the open front panel, typically held in place by light tabs or a simple track.
- They slide or clip out without any tools required on almost all residential models.
- Most units have two filters side by side. Remove both.
- Handle them carefully when removing — if heavily loaded with dust, carrying them flat reduces the chance of debris falling into the unit.
Step 4: Check the Filter Condition
- Hold the filter up to the light. If you can see through it clearly, it only needs a light rinse.
- If the mesh appears uniformly grey and you can barely see through it, it needs a thorough clean.
- If the mesh is torn, the frame is warped, or thorough cleaning can’t restore reasonable transparency, replace it.
- Look for any signs of mould — dark spots or a musty smell. If present, mention this to your technician at the next service.
Step 5: Rinse Under Running Water
- Take the filters to a sink or outdoors and rinse them under gently running lukewarm water.
- Always rinse from the back of the filter toward the front — this pushes the dust out the way it entered rather than pressing it deeper into the mesh fibres.
- For stubborn build-up, use a soft brush to gently dislodge matted dust. Avoid stiff brushes that can stretch or damage the mesh.
- Standard household dust doesn’t require detergent. If the filter smells or shows mould, use a small amount of mild dish detergent, then rinse thoroughly.
- Never use a pressure washer or high-pressure spray — the mesh can be damaged by high water pressure.
Step 6: Dry Completely Before Reinstalling
This is the step most homeowners skip — and it’s the most important one after the rinse itself. A wet or damp filter reinstalled in the unit and run through a cooling cycle will develop mould rapidly.
- Shake off excess water and place the filters flat on a clean surface in a well-ventilated area.
- On a warm Melton day, drying takes 30 to 60 minutes. In cooler or overcast conditions, allow a minimum of two hours.
- Do not use a hair dryer or direct heat to speed drying — heat can warp the plastic frame.
- The filter is ready when it feels completely dry to the touch, including the frame corners and any reinforced edges.
Step 7: Reinstall and Confirm Normal Operation
- Slide the dry filters back into their slots in the correct orientation and close the front panel until it clicks or seats securely.
- Turn the system on and allow it to run for a few minutes.
- Notice whether airflow feels stronger than it did before — if the filters were significantly clogged, you should feel an immediate improvement in air delivery.
What Filter Cleaning Doesn’t Cover
Regular filter cleaning handles the most accessible maintenance task on your system, but it doesn’t address everything. Over time, dust and fine particles that make it past the filter build up on the evaporator coil itself. A coil coated in dust is less efficient and requires professional cleaning agents and trained handling to address properly without damaging the delicate aluminium fins.
- Annual professional servicing of your split system includes evaporator coil cleaning as a standard part of the service.
- If your system has been running with heavily clogged filters for an extended period, there’s a good chance the coil has accumulated a meaningful dust load. A professional service call can assess and clean it if needed.
- Professional servicing also covers the condensate drain, refrigerant charge, electrical connections, and outdoor unit condition — none of which a filter clean addresses.
Conclusion
Cleaning your filters regularly is the single most impactful thing you can do as a homeowner to protect your split system between professional visits. It takes ten minutes, costs nothing, and makes a genuine, measurable difference to performance and running costs. If your system has been running on dirty filters for an extended period and you’ve noticed a drop in performance, a professional coil clean will restore it to near-new condition.
New Image Heating and Cooling Melton services split systems. We’ll assess your system, clean the coil and drain, check refrigerant charge and electrical connections, and give you an honest report on the system’s overall condition. Call us on 0468 125 098 or submit our online form to book. Same-day service is available when you call before noon.
Frequently Asked Questions
Can I use a vacuum cleaner to clean the filters instead of rinsing them?
Vacuuming is a useful first step for removing loose surface dust, particularly for filters that aren’t heavily loaded. Use the soft brush attachment on low suction. However, vacuuming alone won’t remove the fine particles embedded in the mesh fibres the way a water rinse does. For a genuinely thorough clean, always follow with a water rinse and ensure the filter is completely dry before reinstalling.
My filters look clean but my system still isn’t performing well. What else could it be?
If the filters are clean but performance is reduced, the likely causes are a dirty evaporator coil that needs professional cleaning, low refrigerant from a slow leak, a faulty fan motor, or a fault in the system’s electronic components. Clean filters are necessary for good performance but not always sufficient — a professional service will diagnose what else is contributing to the problem.
How do I know if my filters need replacing rather than just cleaning?
Replace the filters when the mesh is torn or has holes, when the plastic frame is warped or cracked, or when thorough cleaning can’t restore adequate transparency to the mesh. Persistent grey discolouration after cleaning that you can’t remove with water and a soft brush is another sign it’s time for new filters. Replacement filters are inexpensive and available from appliance stores or directly from the manufacturer.
Should I clean the filters before or after summer?
Both — and ideally during summer as well. Clean them at the start of summer before peak use begins so the system goes into the heavy season with clean filters. Clean them again at the end of summer when the system transitions to lower use through autumn. If you’re running the system heavily through Melton’s hot months, check the filters every six to eight weeks during the season and clean as needed.
What happens if I reinstall the filter while it’s still damp?
Reinstalling a damp filter is one of the most common causes of mould developing inside split system indoor units. The cool, dark, moist environment inside the unit when the system runs is ideal for mould growth, and a wet filter accelerates the process significantly. Always allow the filter to dry completely — at least 30 to 60 minutes on a warm day, longer in cooler conditions — before reinstalling. If your system develops a musty smell, mould on the internal components is often the cause and requires a professional clean.